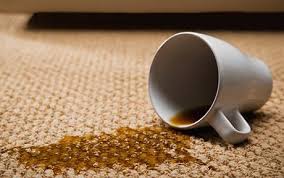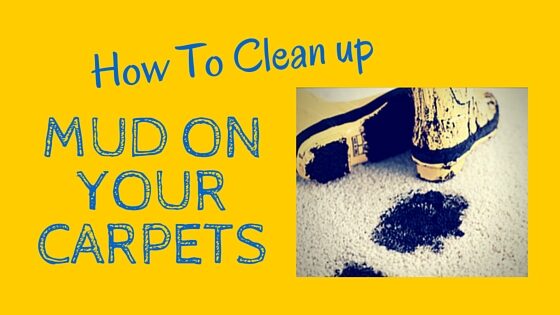
How to Get Mud Out of Carpets?
 1. The first step is to let the mud dry. This might seem counter intuitive, but the mud will be much easier to remove dry and you want to avoid rubbing the mud deeper into your carpets fibers. If the mud is VERY wet, you can blot gently with a towel to prevent the moisture from soaking unto the carpet pad. No rubbing! It is much better to simply allow the mud to dry.
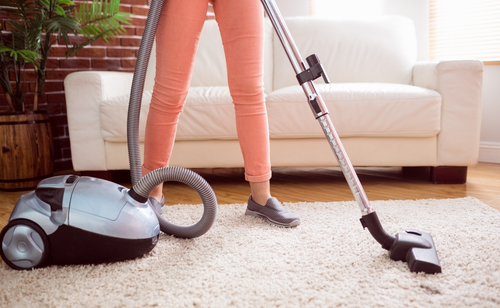
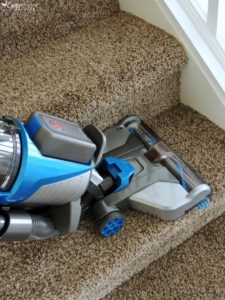
2. Now that the mud is dry, slowly vacuum the affected areas to remove the dirt. Vacuuming slowly will remove more dirt then making quick passes. Vacuum for two or three times longer then you normally would. Make at least 16 passes over the muddy area, being sure to vacuum in all directions. The more vacuuming the better.
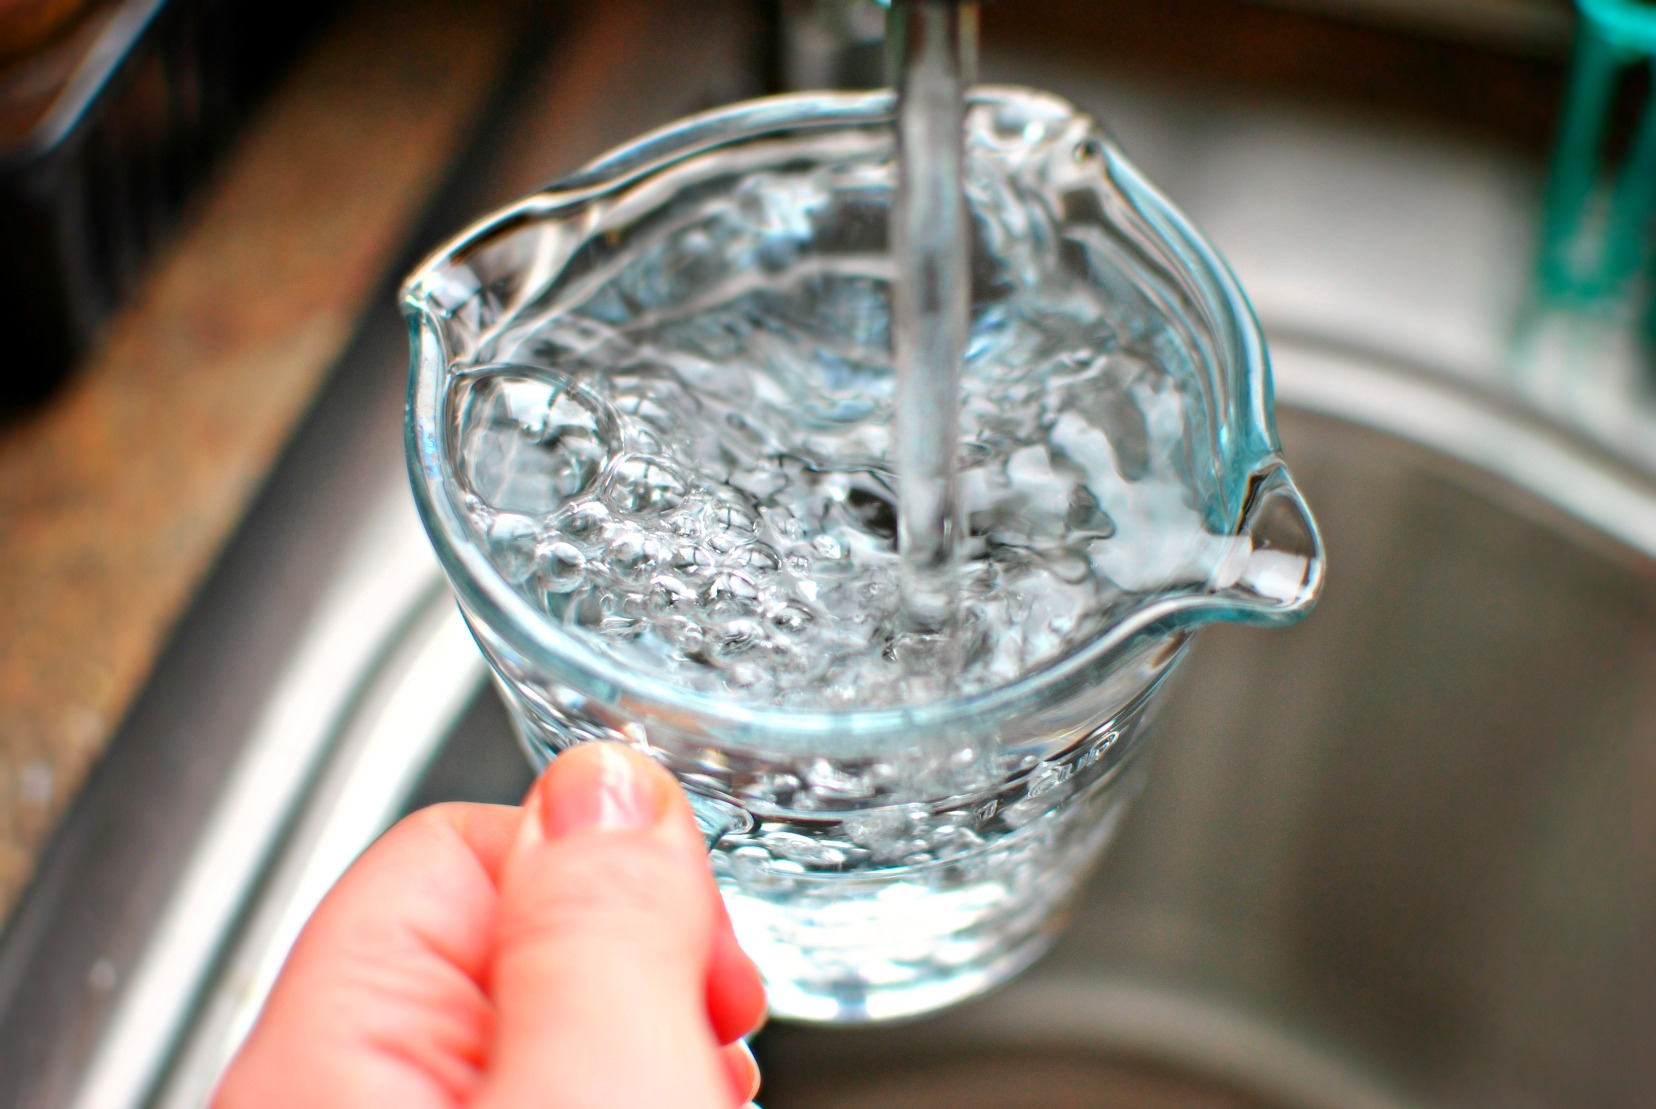
 3. After you have removed as much dirt as possible with the vacuum, it is time to move on to cleaning. What should you use? WATER! Simply heat up some water in the microwave and douse the areas. Why Water?? See why Here.
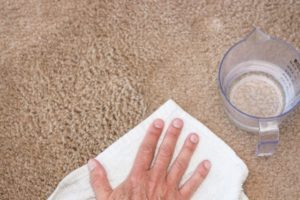
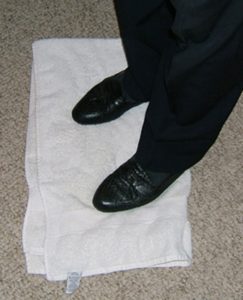
4. Use a folded up towel to blot the water out of the carpet. You can stand on it to increase absorption. A white cloth will allow you to see the stain lifting.
5. Continue the process of water and blotting, switching out the towel as necessary until the stain is gone.
 6. Gently blot with a clean cloth or paper towels to dry the area.
7. If the carpet still has mud stains, consider getting the carpet professionally cleaned. Prestige has powerful vacuums that can often remove stains that are impossible to get out with home spot removal treatments.
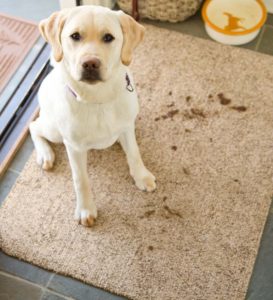
 One good way to prevent mud from staining carpets is to create a mudroom or landing pad at your main entryway. You can use this area to remove shoes and towel off muddy pets before they track mud into the home.
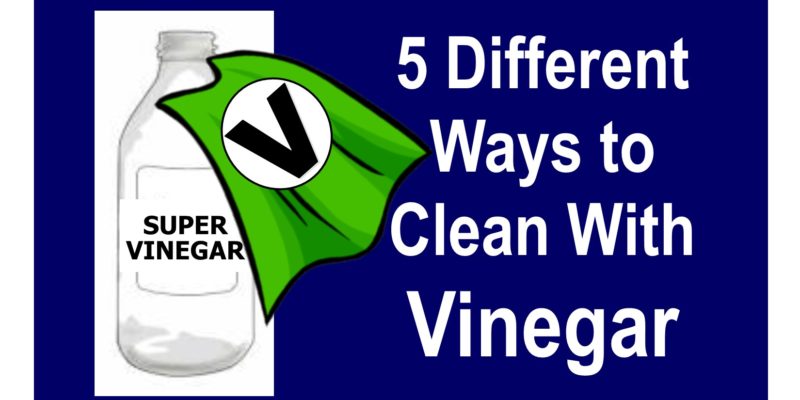
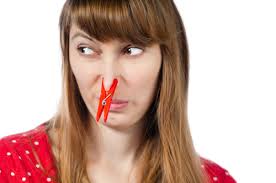 Odor Removal: Aerosol spray cans are good at masking odors, but they will not entirely remove an odor and they can be harmful to the environment. Vinegar is effective at removing unwanted odors because the acetic acid absorbs odors and dissolves them. You can apply vinegar to pet stains, bathrooms or your fridge to remove unwanted odors. Vinegar does not smell the best at first, but it becomes odorless when it dries.
 Disinfectant: Vinegar is a great cleaning supply to keep in your bathroom as it is very effective at disinfecting and killing germs. You can clean a sink or toilet bowl by filling them with vinegar and letting the vinegar sit overnight. You can also use it in your bathroom to clean grout and remove soap scum. Pour some in your laundry to kill germs on those stinky shirts.
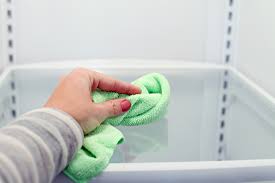 Surface Cleaner: As a surface cleaner, vinegar can disinfect and polish. The acetic acid will not only kill bacteria it will break down and remove dust and dirt particles. It is perfect for wiping your kitchen counter tops and cleaning the inside of your fridge. We recommend keeping your cleaning vinegar inside a spray bottle for convenience. Note* Do not use vinegar on surfaces such as marble, waxed floors, and the screens of your electronic devices. The acidity can be damaging.
 Stain Remover: The acidity of vinegar gives it the ability to loosen bonding molecules and proteins that cause most stains. When cleaning up a stain you should always begin by blotting the area to soak up as much of the staining solution as possible. Then soak the stained item in vinegar before laundering.
 Calcium Deposits: Vinegar is great at getting rid of Calcium deposits too! Run it through your coffee maker to get rid of unwanted buildup or pour some in the bottom of your kettle for an hour and watch the build up disappear. Use a plastic bag with vinegar to soak your showerhead. Spray it on your faucets or better yet, soak a wash cloth in vinegar and let it sit on heavy deposits. Rinse and repeat until all calcium is gone.
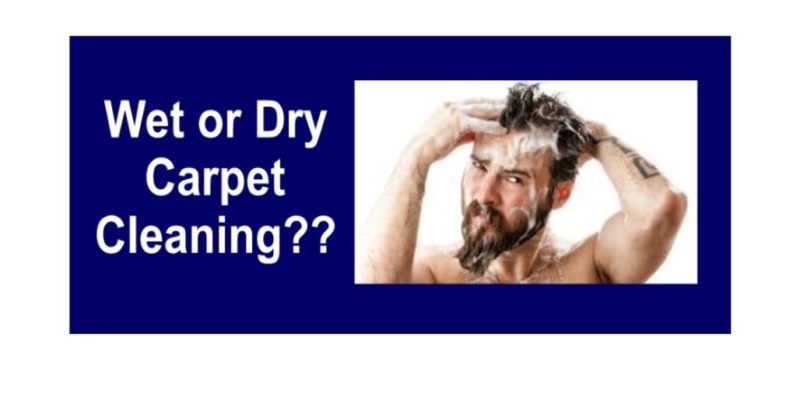


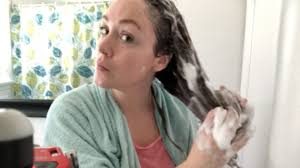 Imagine your hair is dirty. So, you lather it up with shampoo and then………do NOT rinse it, but instead rub your hair with multiple towels until it is dry. Would you think your hair was clean? Probably not.
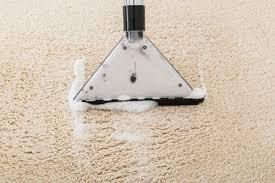 This method doesn’t really extract the heavier grit and sand that damages carpet over time and their buffers wear carpet down. Plus residue is left behind, meaning your family can be exposed to these chemicals and some complain that carpets are extremely stiff after cleaning.
 On the other hand, ‘Hot Water Extraction’ or ‘Steam Cleaning’ sprays hot water under pressure onto the carpet and is immediately extracted with a vacuum source. The dirty solution is collected in a recovery tank and taken away.
 Truck mounted machines have large independent engines which can develop up to 1000 pounds of pressure and heat the water to 180 or more degrees. These machines are expensive but they have very powerful vacuums which leave the carpets drier than with portable machines. Your carpet will only be damp and should dry within 4-6 hours.